

Our Family Hike at Mt. Ulap

Before her passing, my sister had this annual tradition of hiking on her birthday and I was lucky enough to join her when I visited the UK in 2022. That time with her— surrounded by endless greens and crisp mountain air— was so precious that I promised myself I’d carry on the tradition, especially after she was gone.

So for my 37th birthday this year, I chose to hike Mt. Ulap for three simple reasons:
1️⃣ It’s doable as a DIY climb.
2️⃣ It’s accessible from Baguio.
3️⃣ It’s flexible enough for families who want options.
Although Mt. Ulap is often labeled beginner-friendly, let me stress— it’s not an easy one.

⛰ Quick Details: Mt. Ulap Traverse (Ampucao → Sta. Fe)
Total Distance: 9.1 km
Hours on the Trail: Around 6 (including breaks and photo stops)
Difficulty: Moderate; Beginner-friendly, but expect long climbs
Our Group: 2 adults, 2 kids, and 1 dog 🐾 (free of charge)
Registration Fee: ₱100/adult · ₱20/teens · 12 yo & below free
Walking Stick: ₱100–200 each
DENR Fee: ₱30/adult · ₱15/child
Hiking Fee: ₱60 per head
Guide Fee: ₱800 per group up to 7 pax
Toilet Fee: ₱10 per use
Parking Fee: ₱100
Taxi from Exit (Sta. Fe → Ampucao): ₱400
Best Time to Start: Before 5:00 AM💡 Tip: Bring small bills, refillable bottles, and lots of patience for the toilet queues! 😅
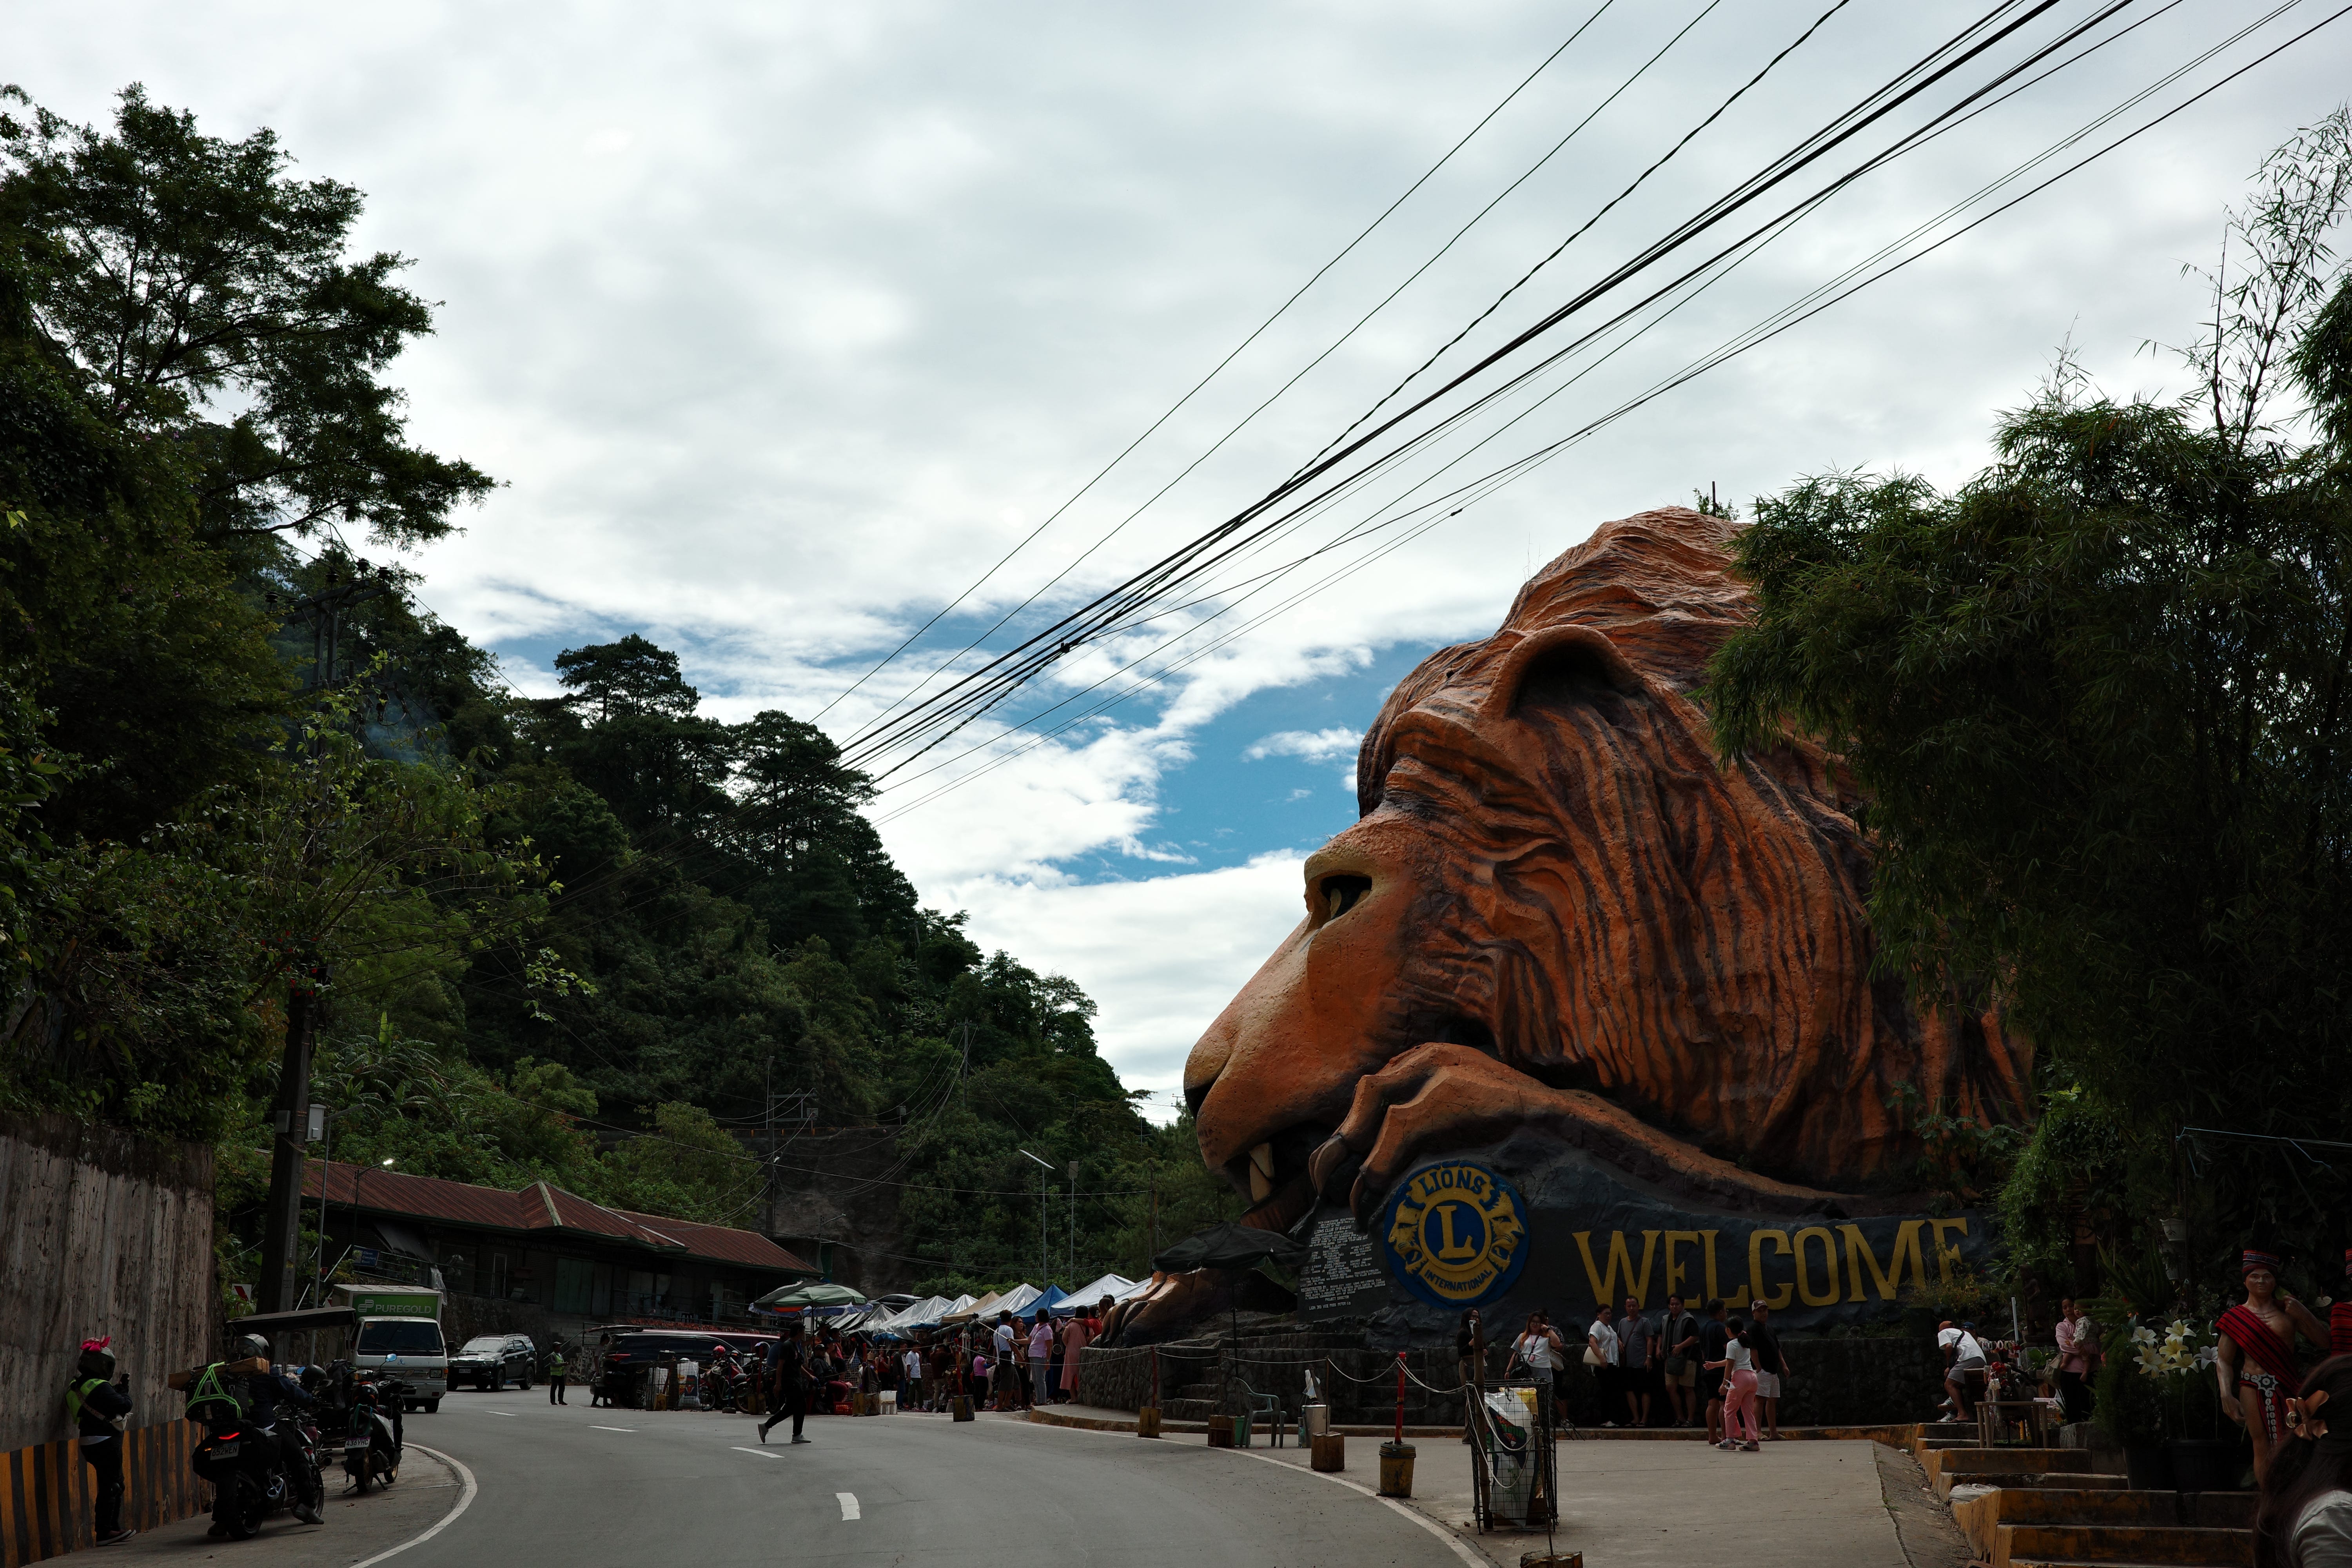
Getting There and Where We Stayed
Mt. Ulap is located in Itogon, Benguet, about 40 minutes from Baguio City and roughly 18 km from Wright Park. We decided to go DIY so we could adjust our plans depending on the weather (and maybe just stay in Baguio to celebrate if things didn’t go our way).
We left Manila early Friday morning, October 17, for a 4-day, 3-night stay in an Airbnb near Wright Park— one of my favorite areas in Baguio. The drive only took 4.5 hours via TPLEX, which used to take almost 6–8!
After arriving just in time for lunch, we stopped for groceries and supplies. One thing I love about Baguio: you don’t have to pack your whole house. 😅
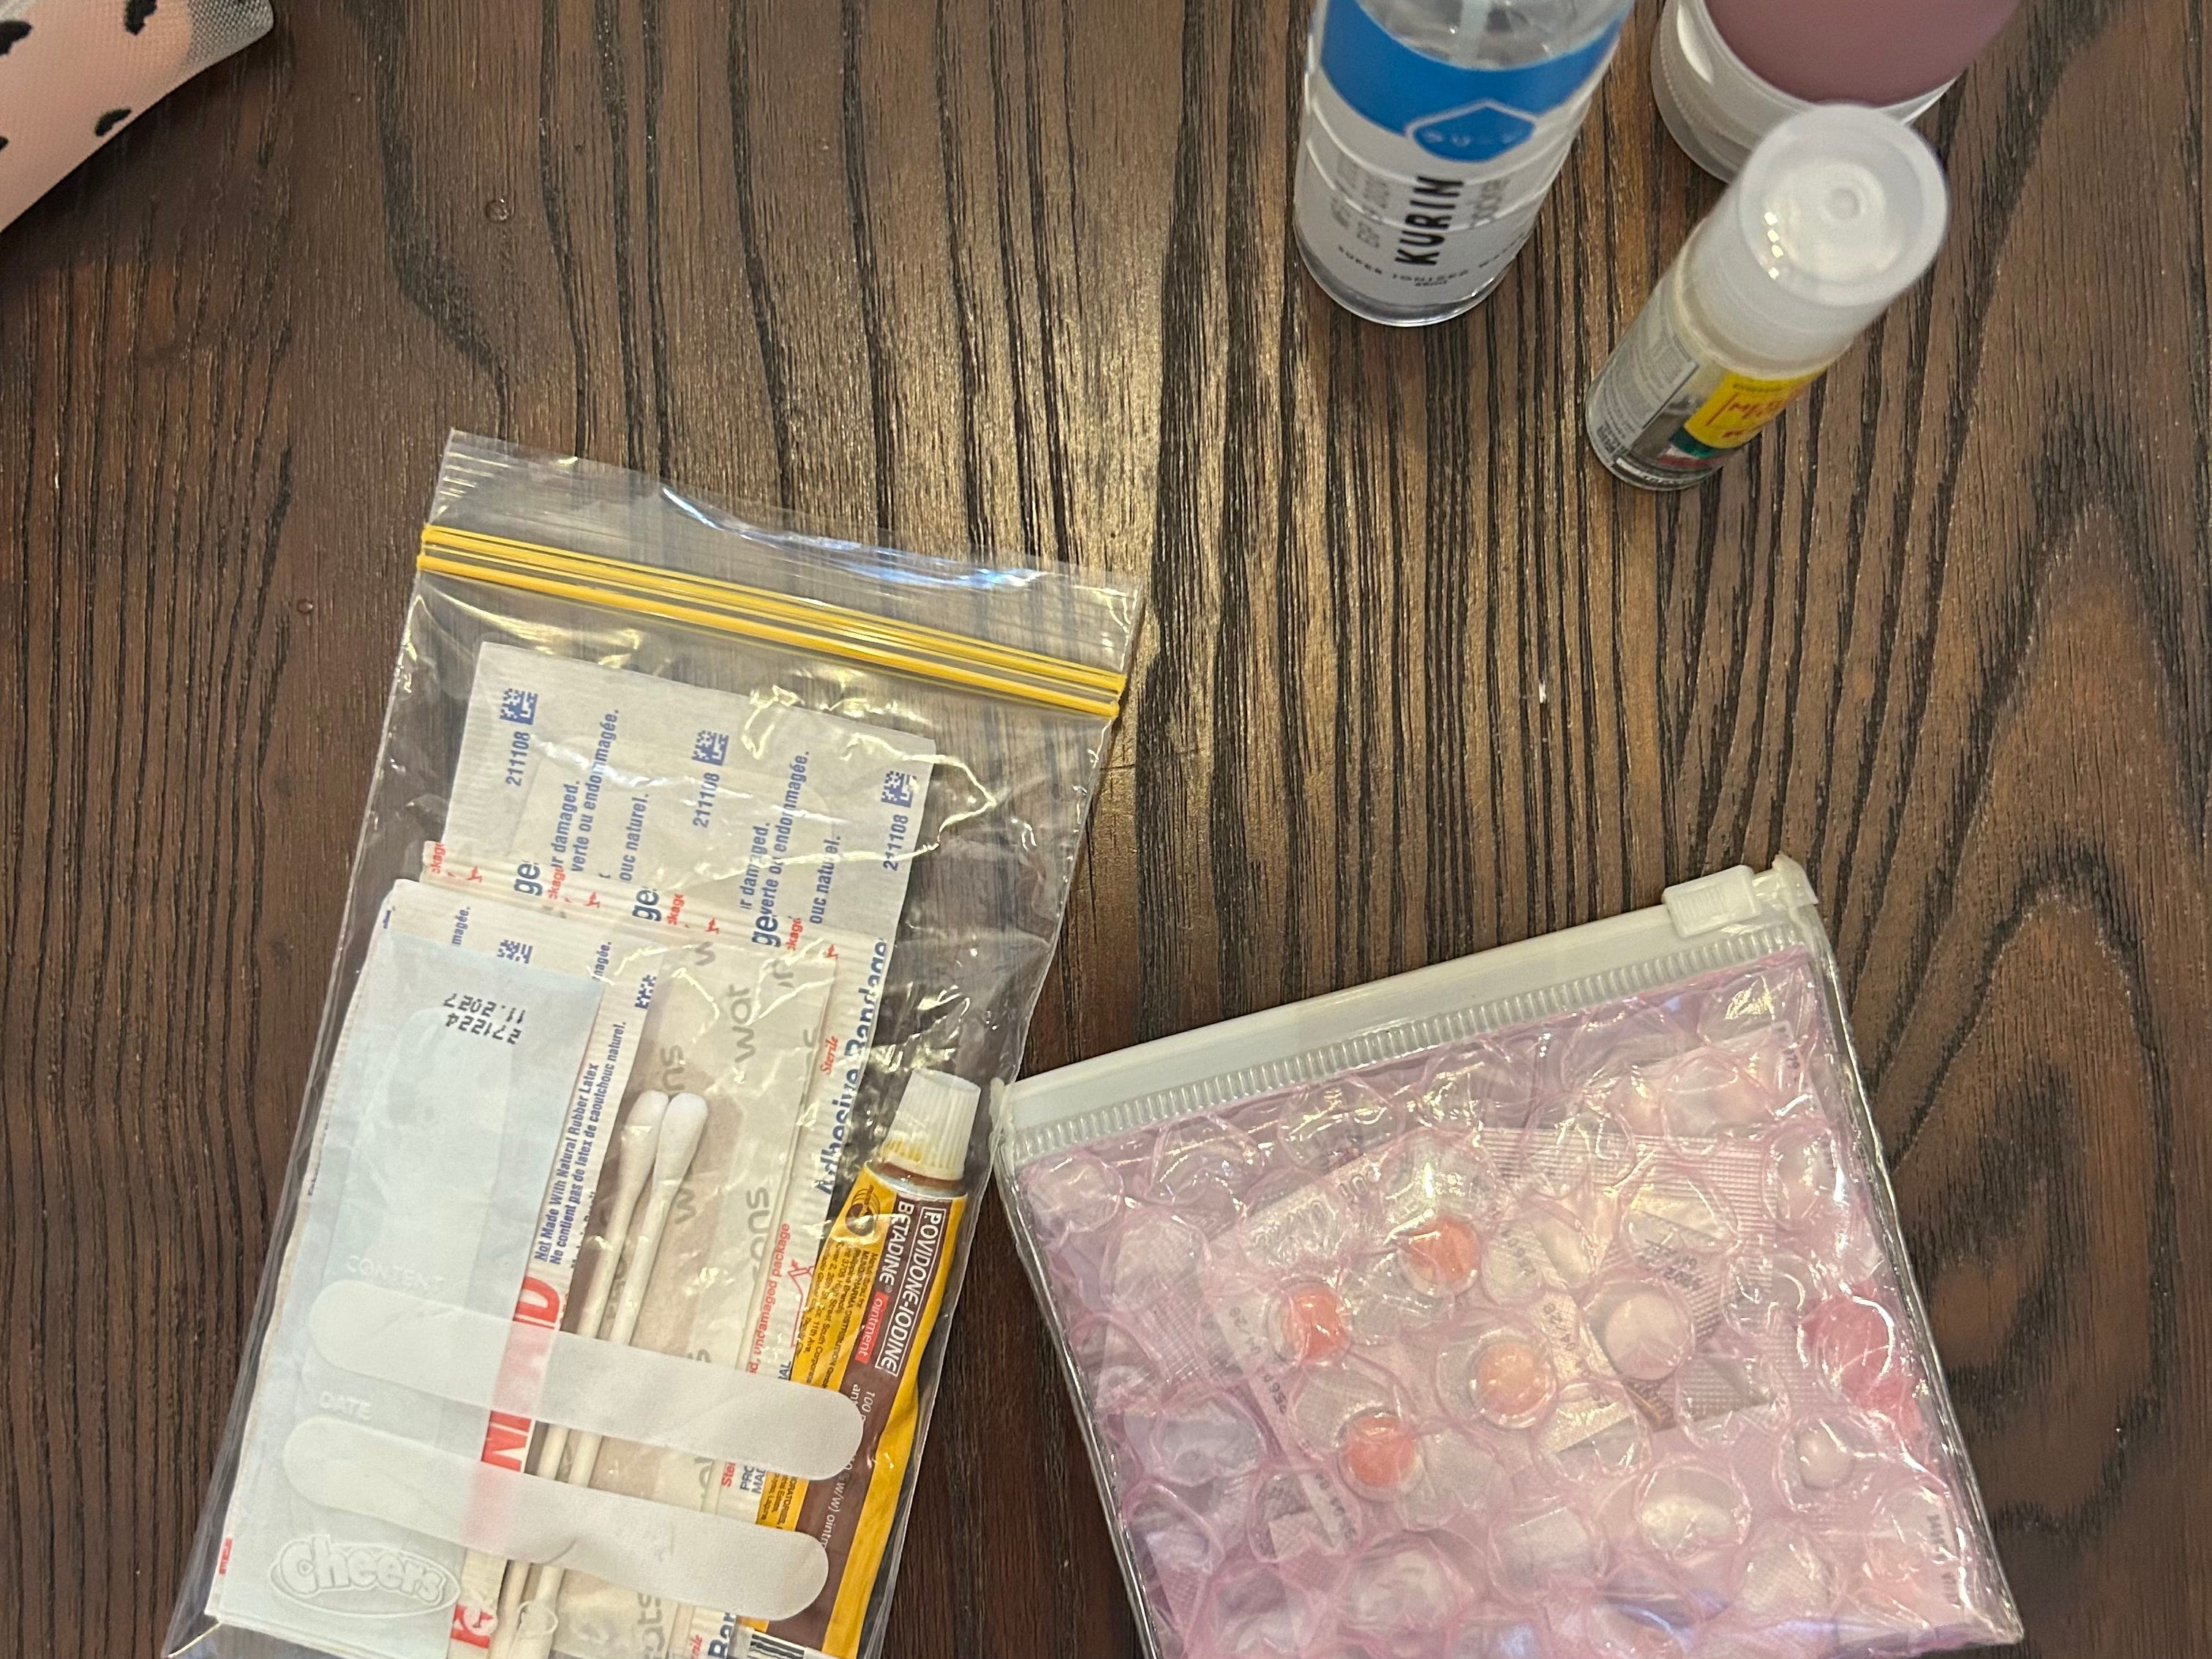
Once we checked in, the kids got to work unpacking— our eldest took charge of clothes and toiletries, while the youngest busied himself organizing our groceries. Mike, our designated driver, went straight to rest, and I started preparing our hiking gear.
We decided to have dinner a bit earlier than usual so we could get enough sleep for the next day’s climb. Our daughter, Ry, looked for pet-friendly spots since we brought our dog, Charlie, along.
Early Start and Registration
At 4:15 AM the next morning, we were out the door heading to Ampucao jump-off point. The drive was smooth and the road is accessible even to small cars.


Registration at Barangay Ampucao was quick, about 10 minutes. We were assigned to Kenneth, a 19-year-old student who works as a guide on weekends. Before heading to the trailhead, we decided to buy some walking sticks (₱250 each, though we later saw vendors selling them for less 😢) and use the toilet one last time. (Tip: manage your expectations with the public toilets here—they’re serviceable, but not exactly sparkling clean.)


By 5:30, we began our trek. The first kilometer is a concrete path from the registration area to the actual trailhead. After paying the DENR fee, we started our ascent and quickly realized this trail was no walk in the park. The next 2 kilometers were already a solid uphill assault. Note to self (and anyone reading): wake those glutes and hamstrings up before hitting the trail!


Trail Highlights
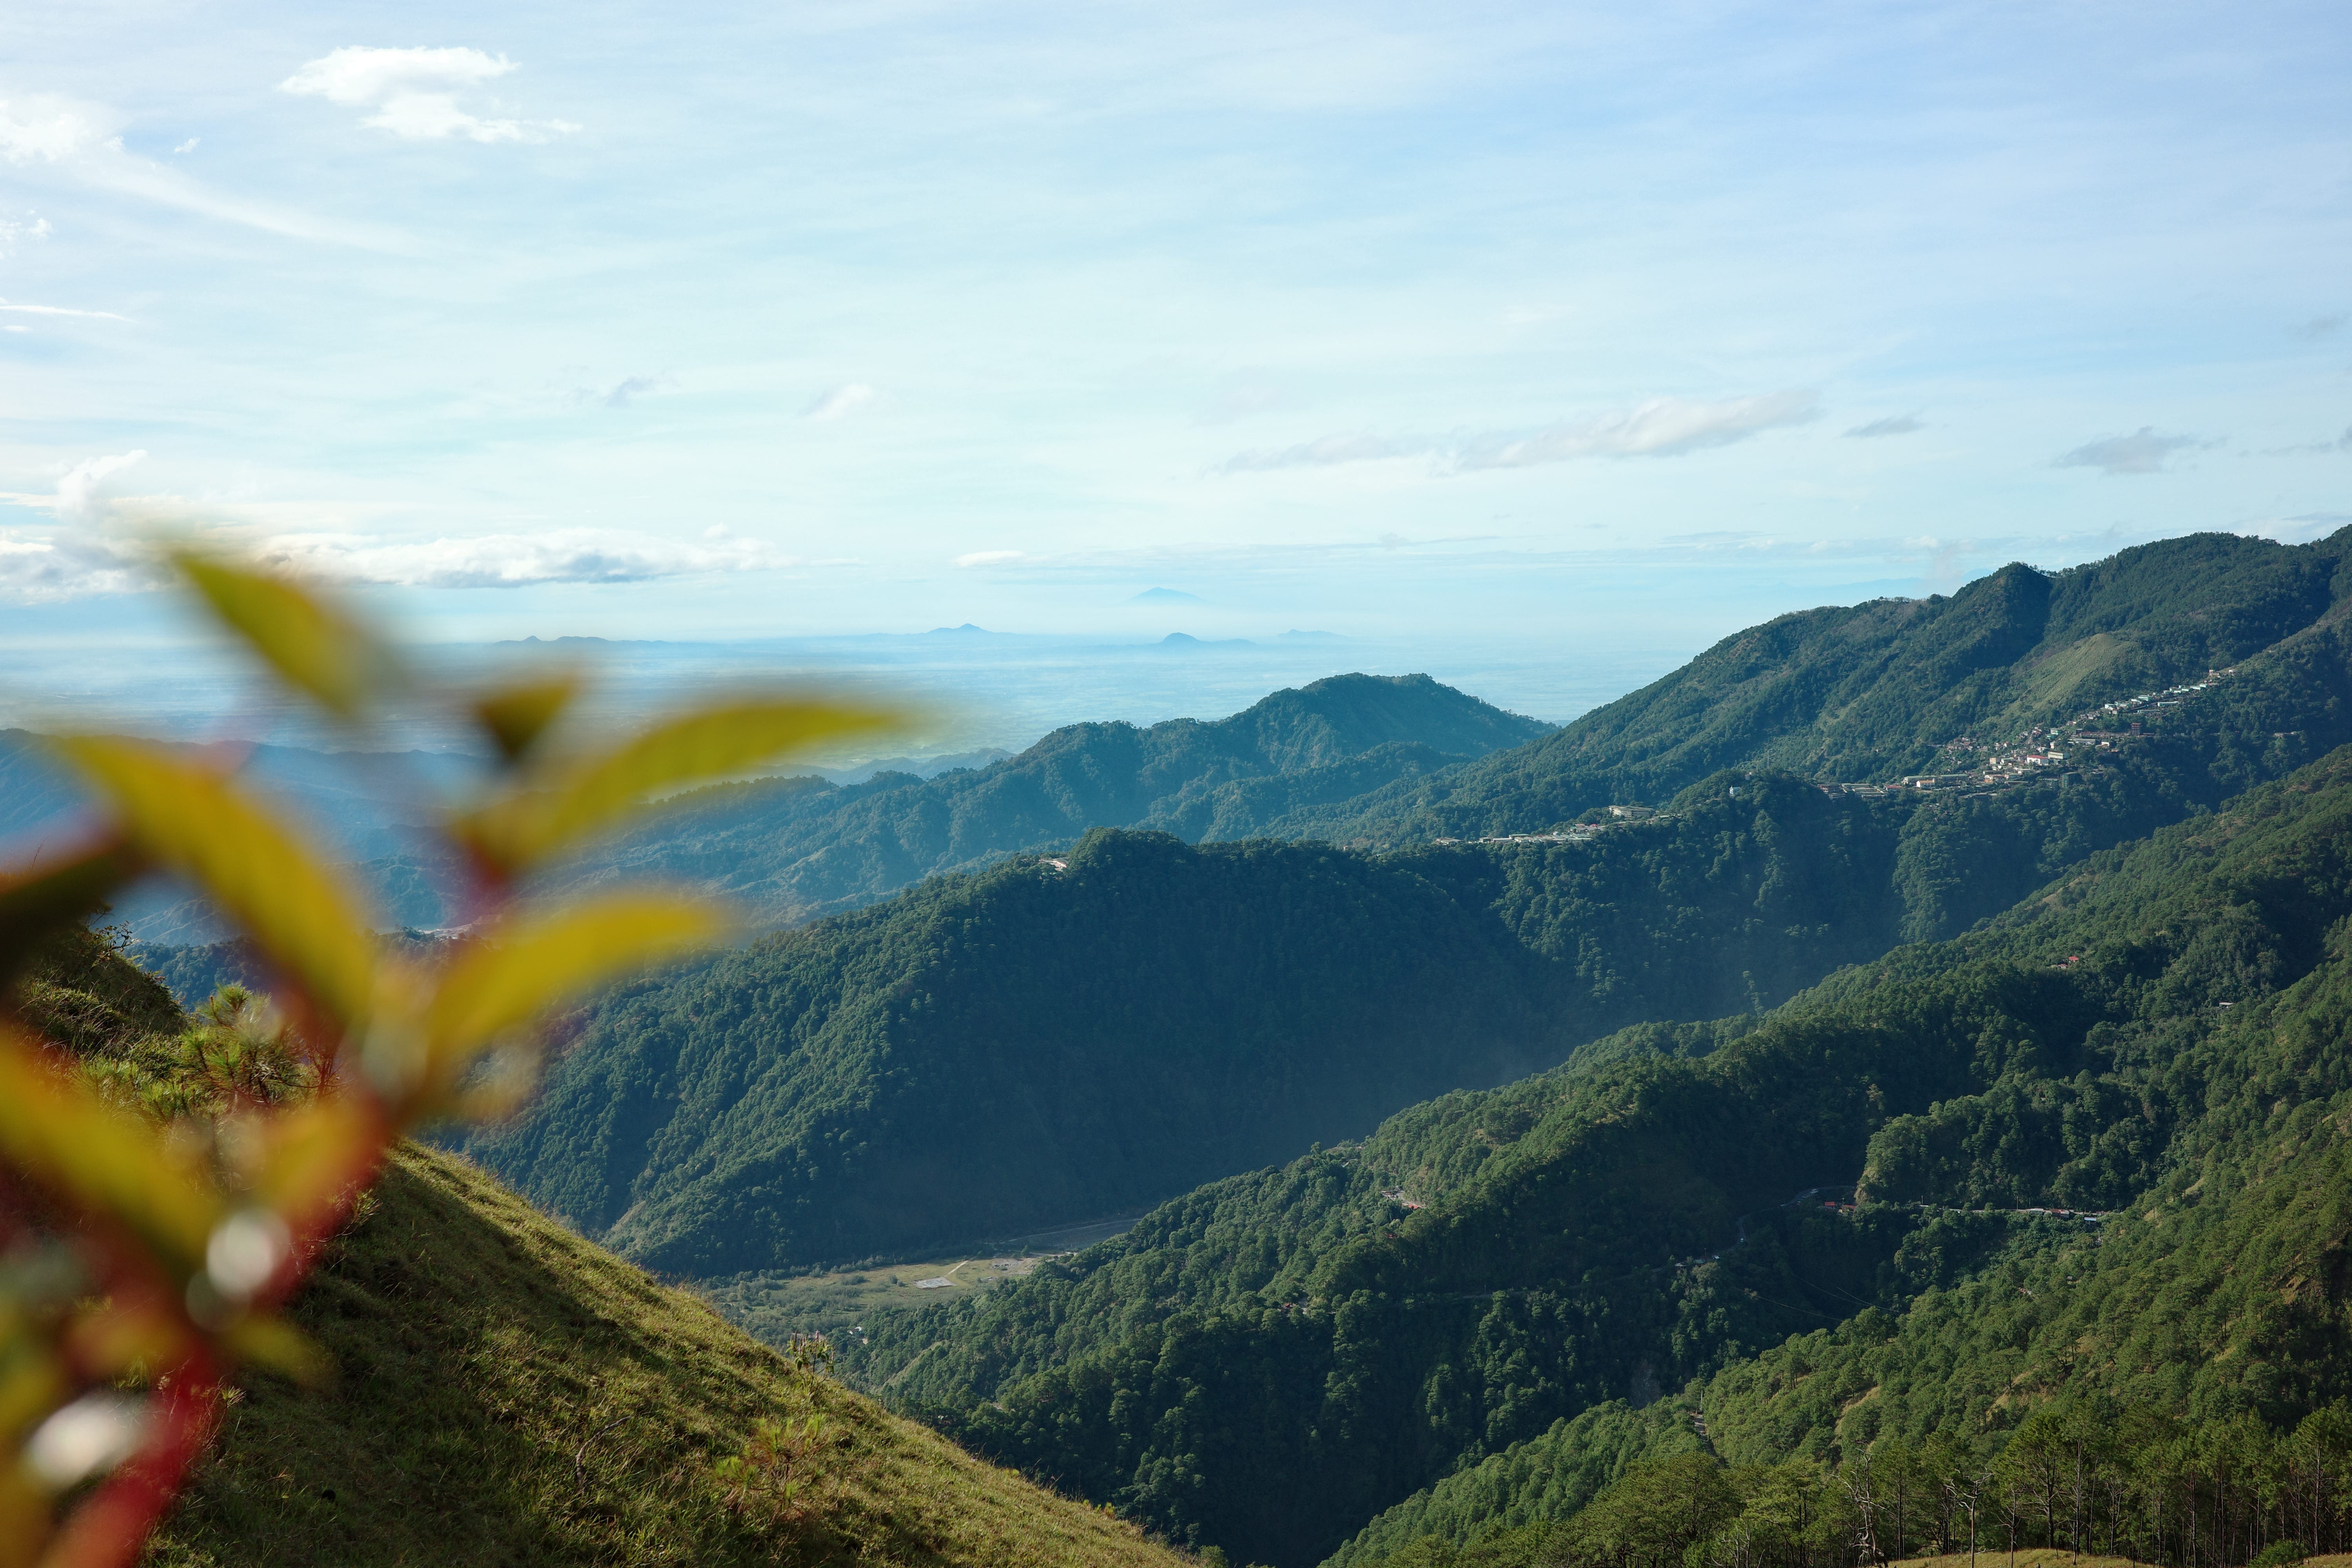
One thing I loved about this route is how there are plenty of wide rest stops where you can catch your breath and take in the view without blocking the others. The weather was also perfect— about 19°C at the start, warming up to 28°C by midday. Even under the sun, the mountain breeze kept us comfortable, especially in the open ridges without tree cover.
By 7:30, we reached Ambanao Paway, the first peak. Since it was a Saturday, the area was packed with hikers waiting for their turn at the signage. Thankfully, the guides have a system to organize the line, though we still waited about 30 minutes for our photo.


This section marks the start of the grassland ridge, where shade becomes scarce but the panoramic views more than make up for it. If you brought sunblock, now’s the time to reapply!
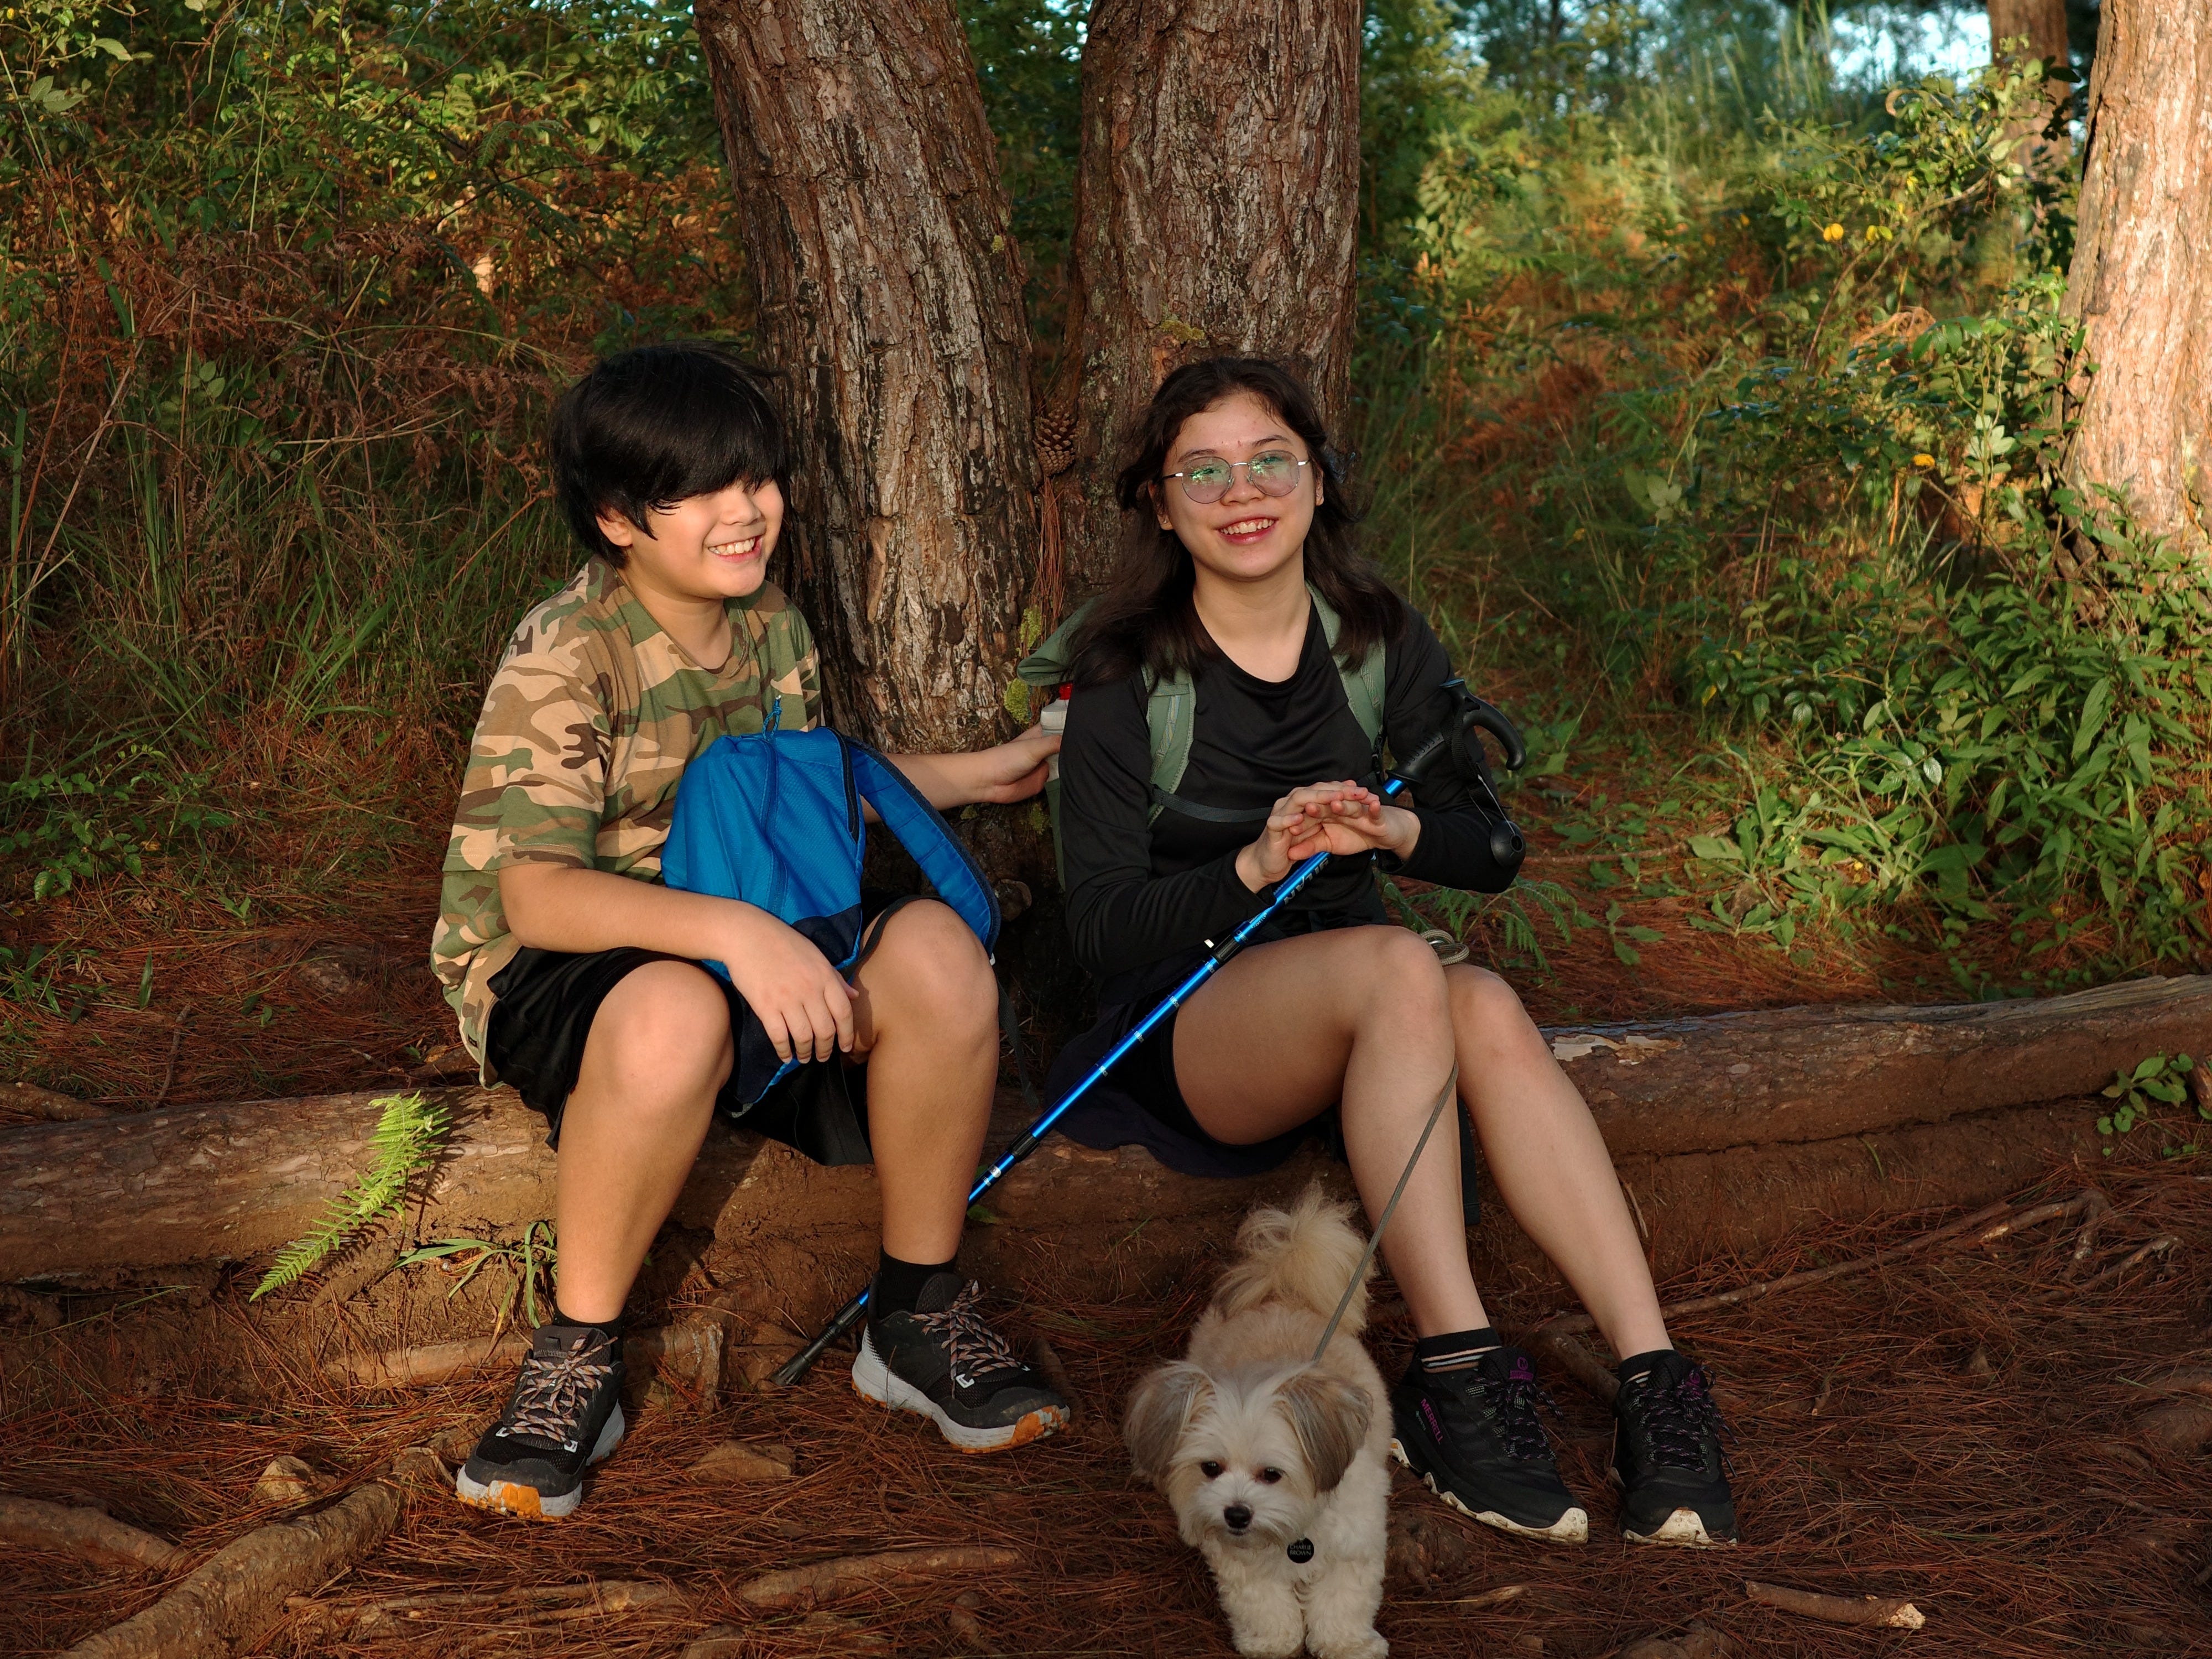
On our way to the second peak, Mike stood up too quickly during one of our breaks, and his old back injury flared up again. I got worried, what if he couldn’t go on? Thankfully, he managed to reset himself (shoutout to our PT!), took some pain meds, and powered through.
The trail to the second peak felt longer, with alternating steep ascents and short descents. Around 9:30, we reached Gungal Rock, which looks strikingly like Pride Rock from The Lion King. We skipped the long photo queue there and took a family photo at the signage instead.


Nearby, there’s a small rest stop where you can buy ice candy, and a portalet available for a ₱10 fee. Make sure to bring loose change, your own wipes and alcohol!
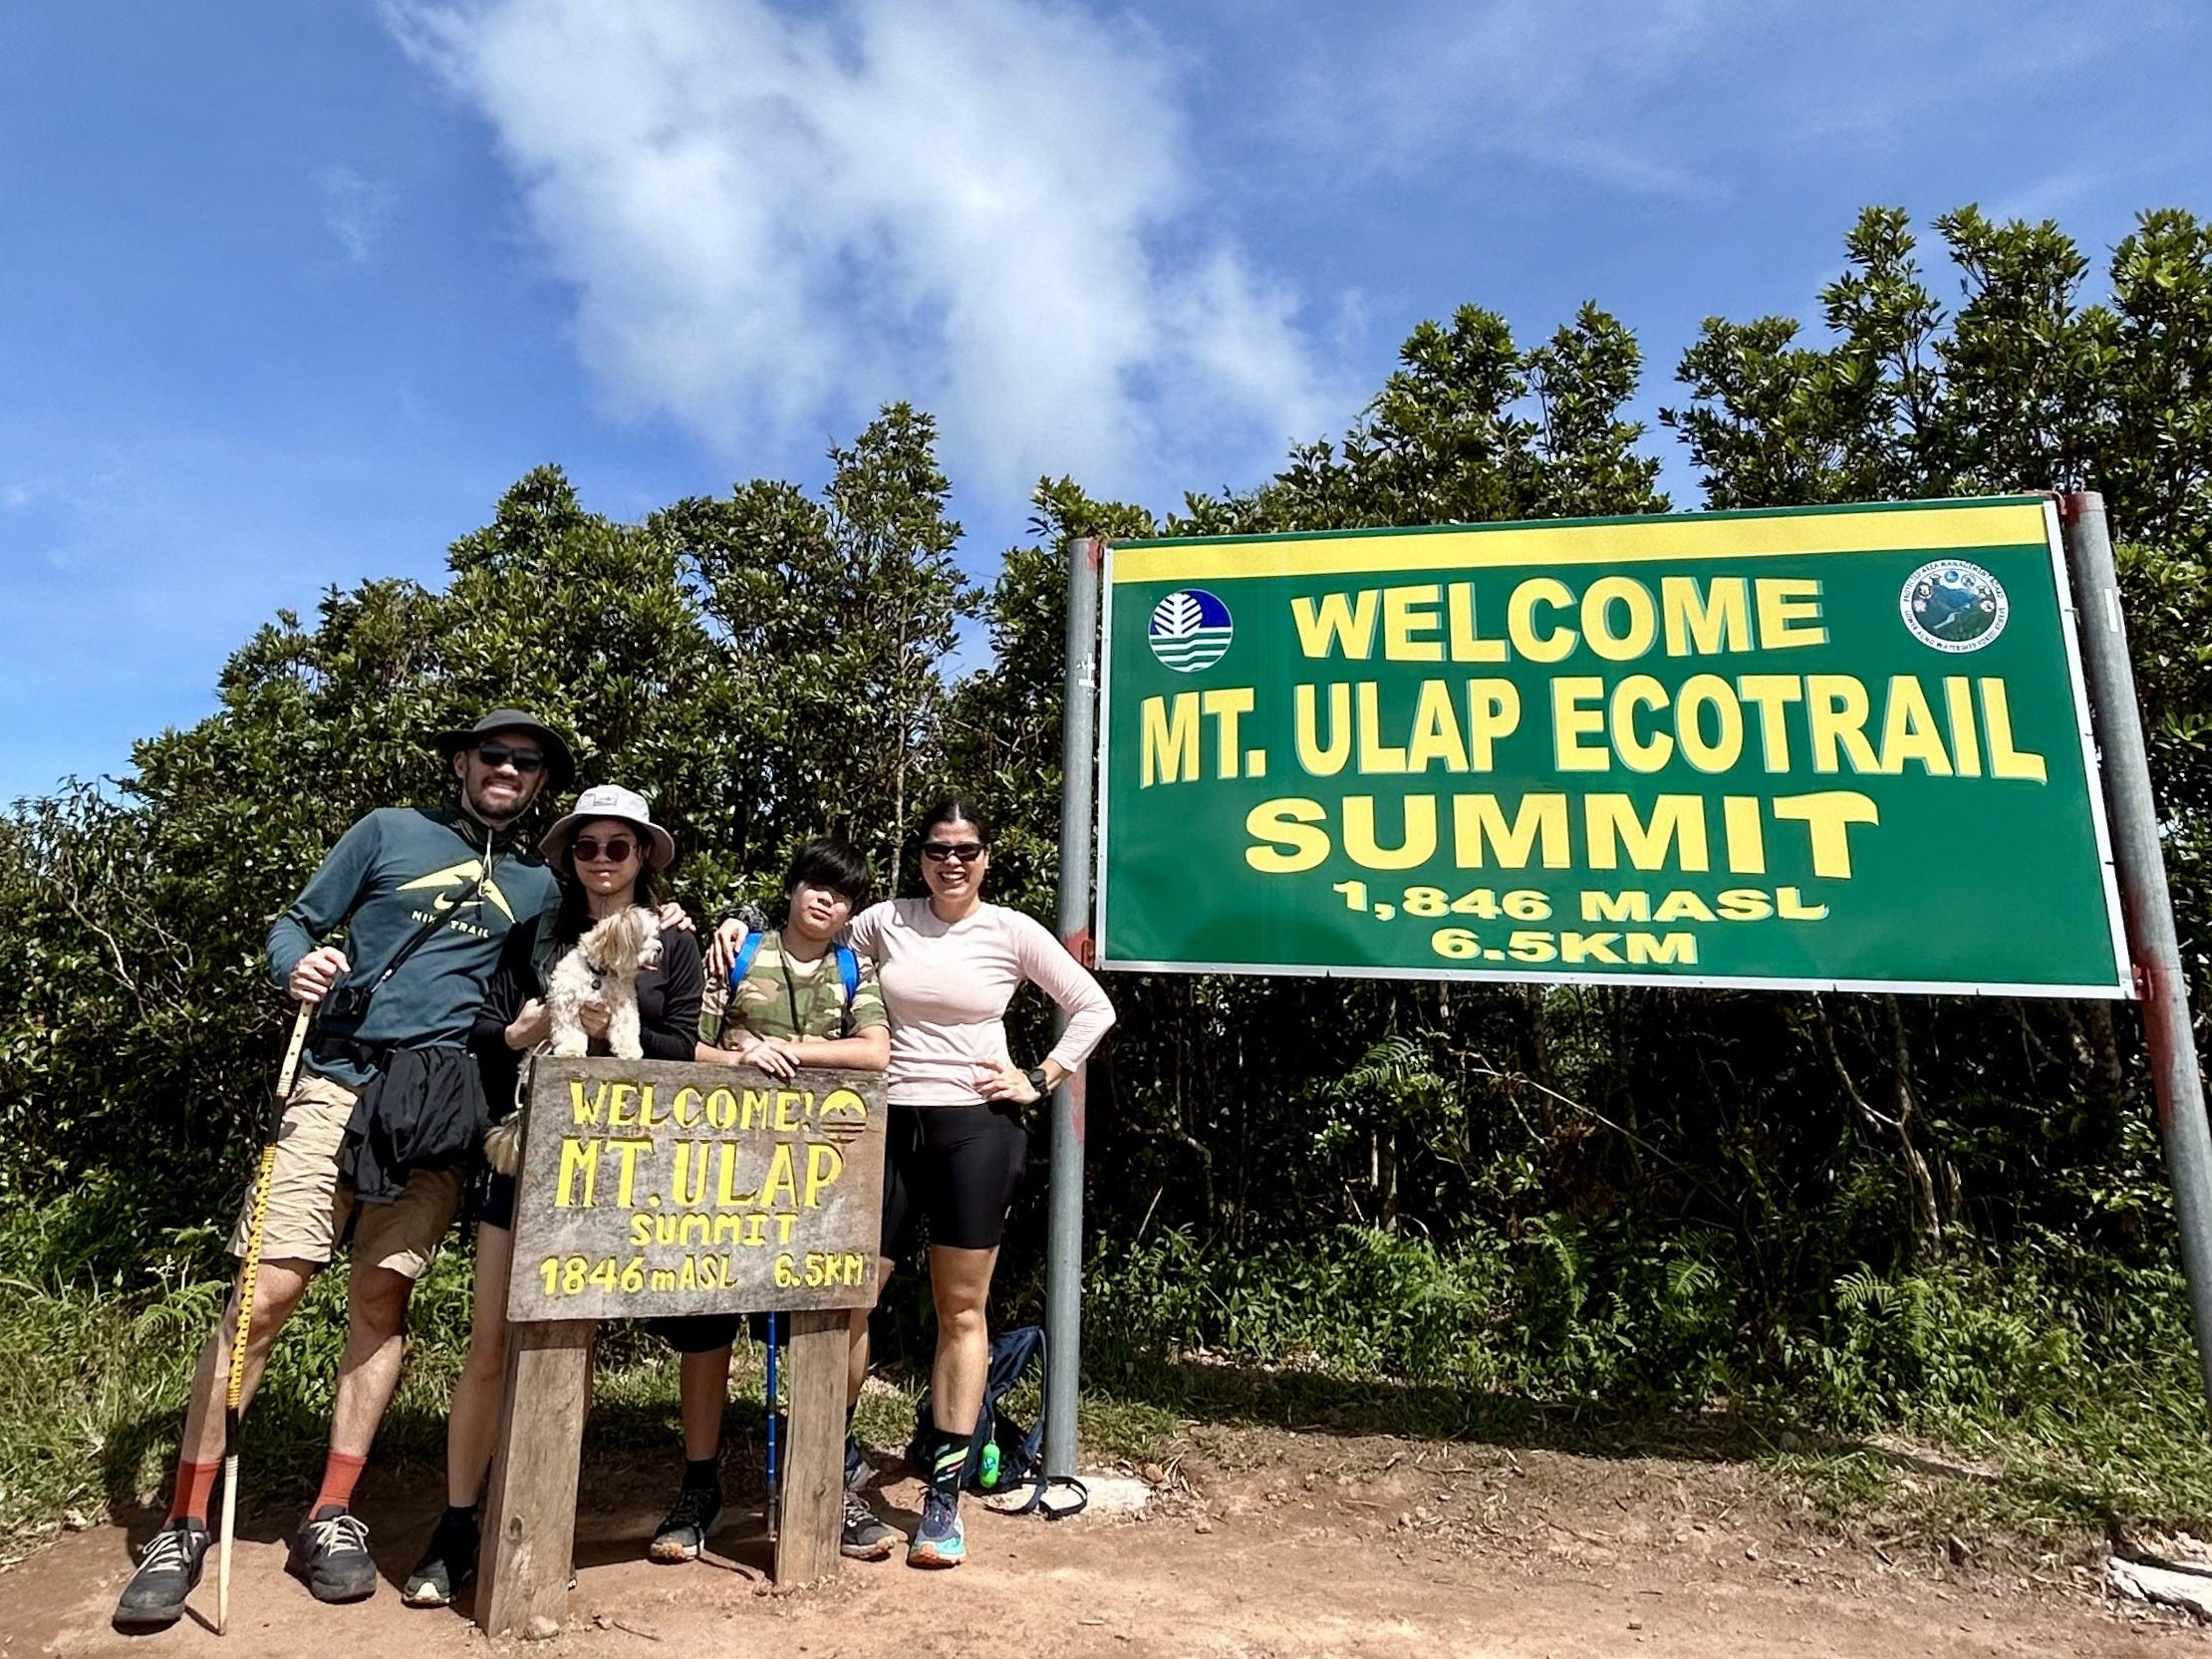
At 10:15, after three more short but steep climbs, we finally reached the summit. There were fewer hikers here, so we got our photos right away. We spent a few minutes just soaking it all in— the view, the wind, the feeling of having made it together.


Refueling Before the Descent
After catching our breath, we trekked down to what locals fondly call “7-11”— a small canteen about 15 minutes from the summit. There are two eateries there; we picked one that served rice meals (₱180). The rest of the family had Pancit Canton (₱40 per pack), and I instantly regretted not getting the same— it just hits different up there!
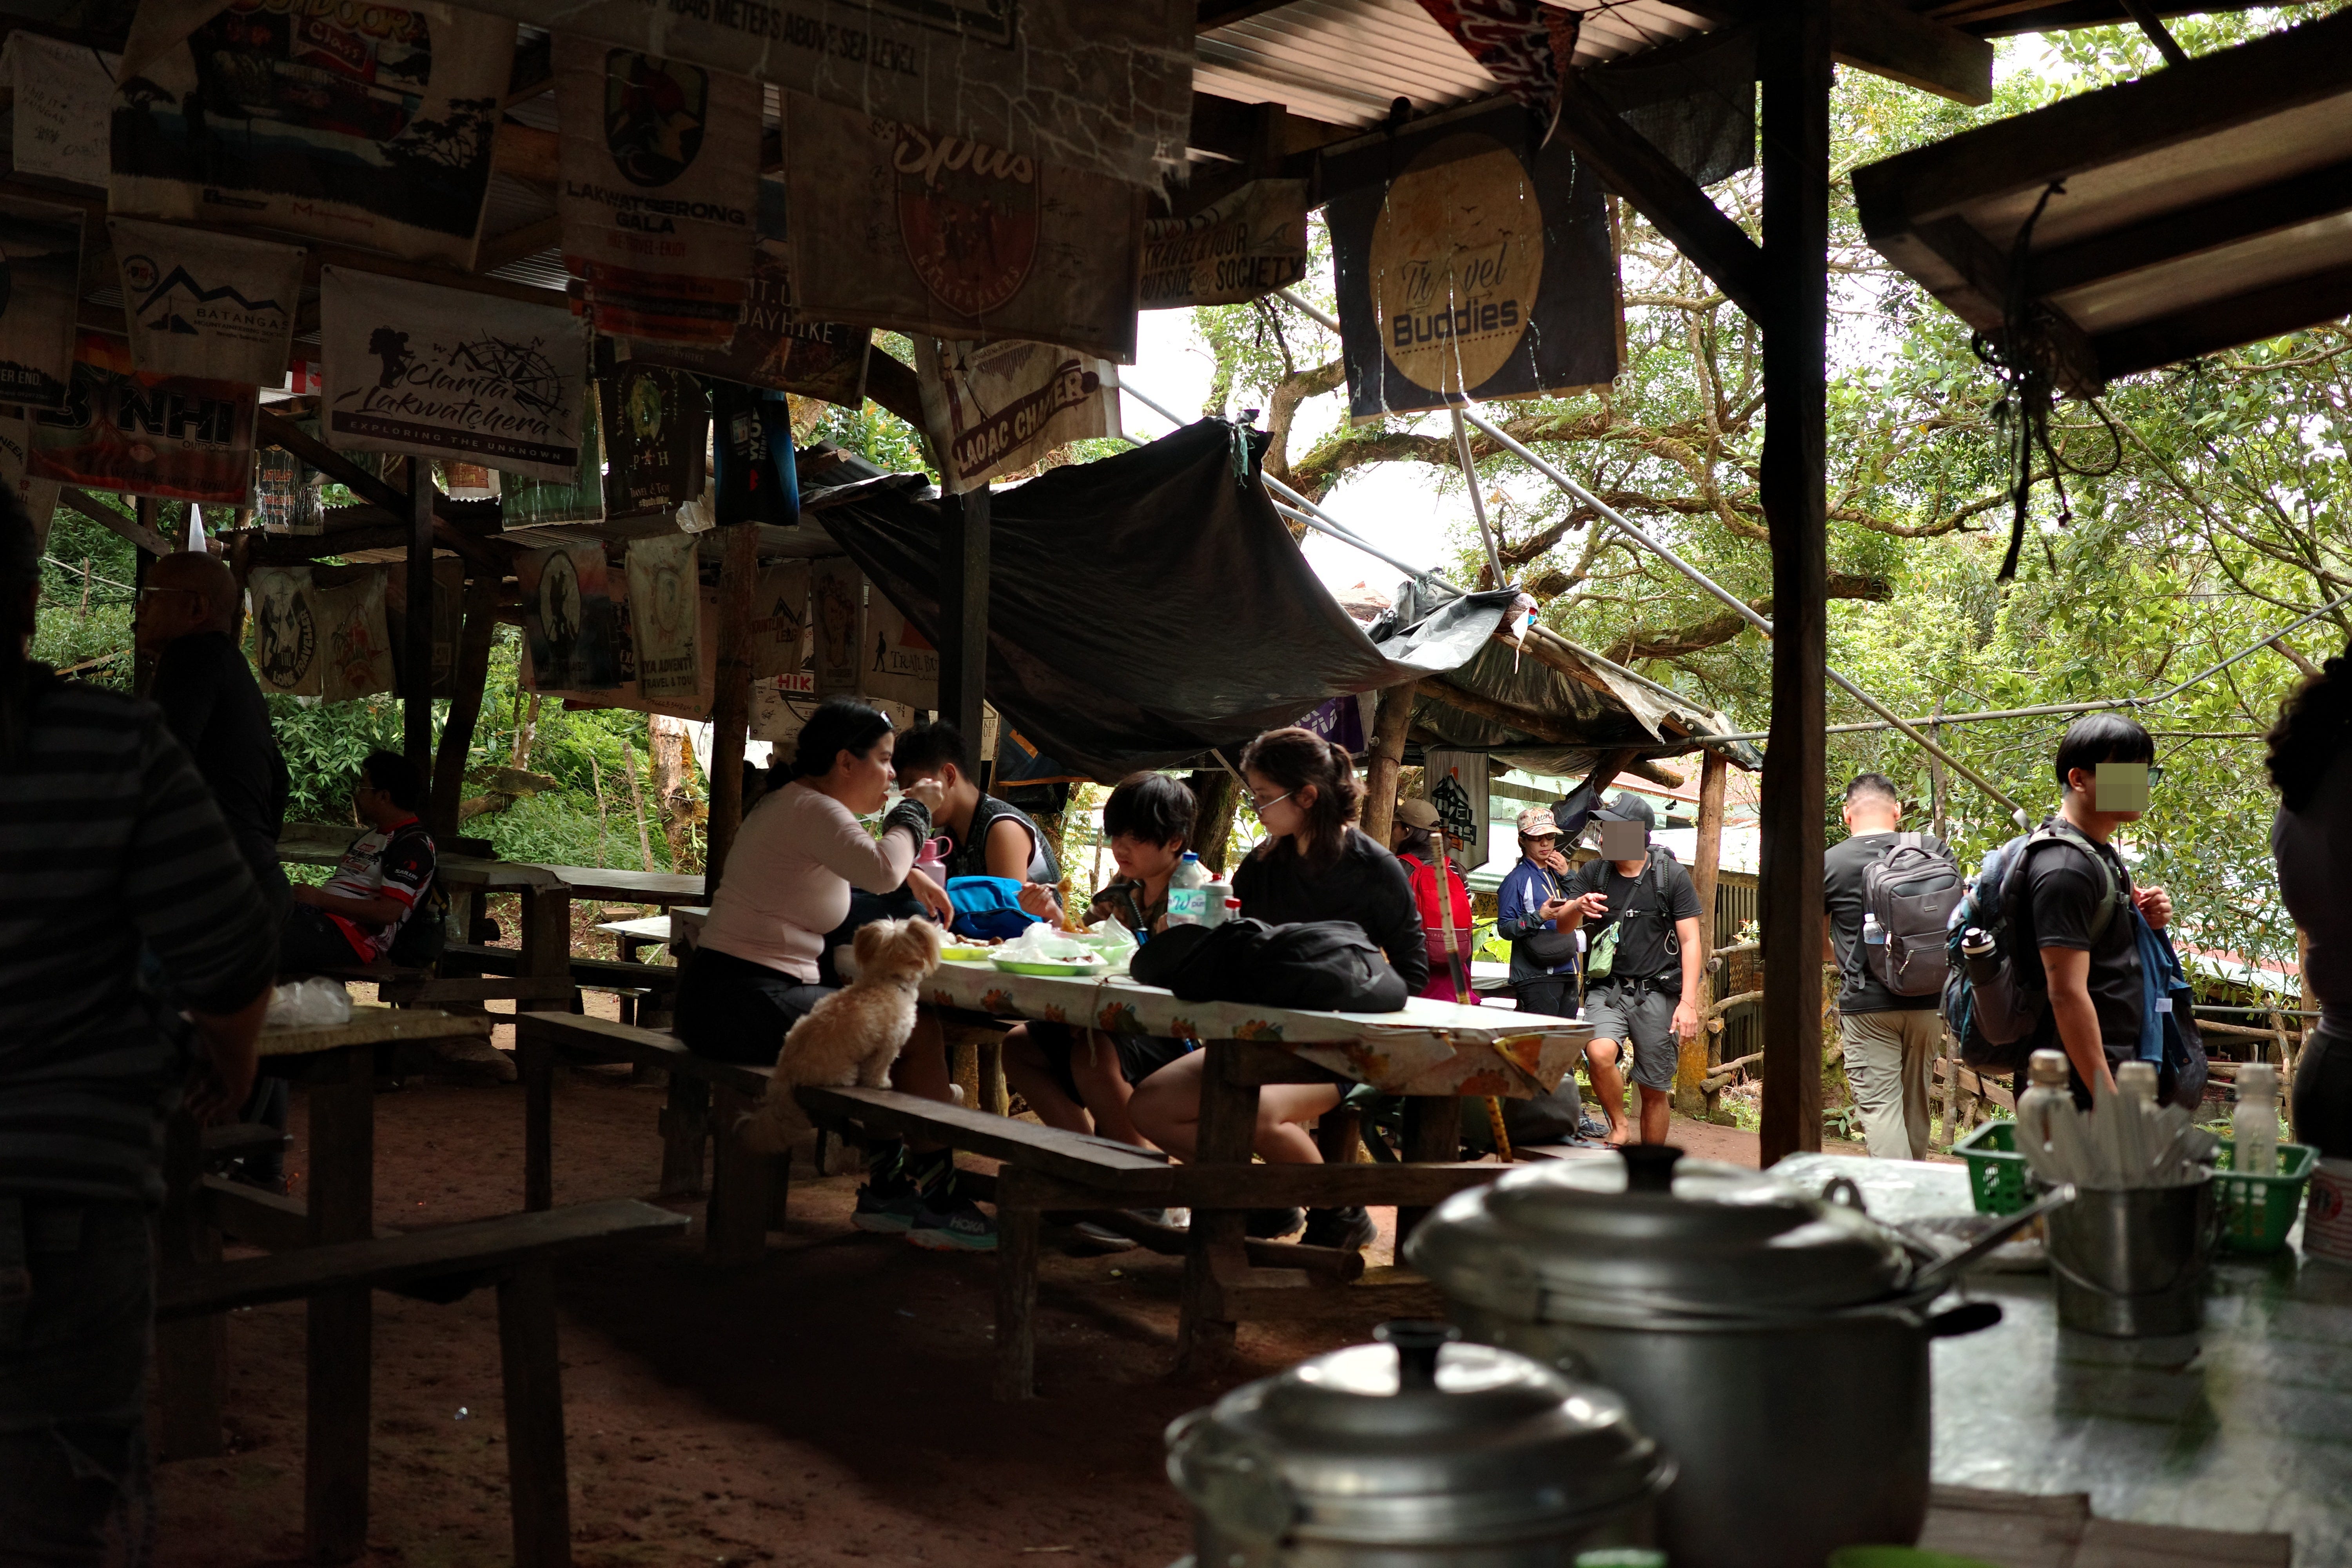
They also sell drinks: sodas (₱40) and bottled water (₱75 per liter). This is a great spot to refill your bottles because the descent can take up to two hours.


After about a 30-minute lunch break, we started our descent. And just when we thought it would be easier, Mt. Ulap humbled us again.
The first stretch going down is rocky and slippery, especially on a dry day. I can’t imagine hiking here during the rainy season. The second half is a concrete path but still steep. Our daughter’s knees started aching; when I asked if she was okay, she said, “I don’t really have a choice.” (Relatable 😅)


A few hanging bridges later, we completed the 9.1-kilometer traverse— our longest and most challenging family hike yet.
The Finish Line
By 1 PM, we had reached the end of the trail, sipping fresh buko juice while waiting for a ride back to Brgy. Ampucao where our car was parked. No fights, no meltdowns, and no one asked to turn back— a small miracle worth celebrating.


Overall, yes, Mt. Ulap can be considered beginner-friendly in terms of logistics and terrain, but it still demands preparation and stamina. Don’t skip conditioning!
This hike will always be one for the books and one for the heart. A new core memory, and a beautiful way to honor my sister’s tradition while creating our own.
If you’re curious to see what the climb actually looked like— the laughter, the heavy breathing, the little moments that didn’t make it into words— I made a short reel of our Mt. Ulap adventure on Instagram.
This is incredibly helpful and packed with useful information. I really appreciate how detailed it is. Having the prices included makes it even more convenient. Thank you so much for sharing this!